MiniFlex Office Hour Episode # 7 Recap
Sep 18, 2025

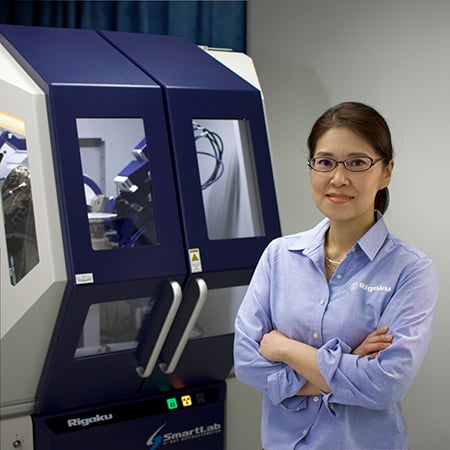
Recap provided by Aya Takase
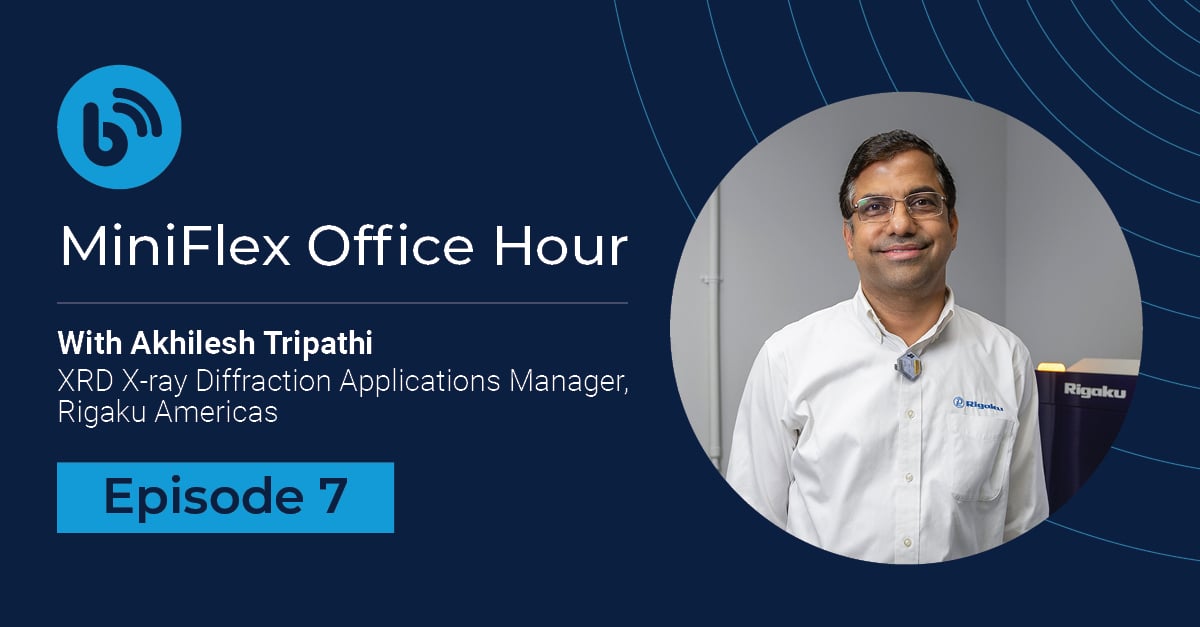
Thank you to everyone who joined us for Episode 7 of MiniFlex Office Hour! As always, our XRD expert, Akhilesh Tripath, shared valuable insights and answered practical questions from MiniFlex users around the world. Below is a quick recap of the key topics we covered.
You can watch the full recording here. If you’re new to MiniFlex, it’s a benchtop X-ray diffractometer that researchers have trusted since 1973.
Episode recap
Here are some of the key questions Akhilesh answered during the session:
-
A complete sample analysis involves several steps:
- Sample preparation:
- Ensure the sample is a fine powder, ideally ranging from 40 to 80 microns (or 325 mesh).
- Use a mortar and pestle or mechanical equipment to grind samples to the desired fineness. Sieves can be used for verification.
- The sample must be well-ground and mixed to minimize preferred orientation and remove any edges, making particles more spherical.
- Sample packing:
- Utilize various sample holders, including zero-background, low-background, or normal holders, depending on the sample type and amount.
- Pack the sample very well; simply placing it on the machine can lead to errors like peak shifts and shadow effects
- The packed sample should be level with the brim of the sample holder, neither below nor above. Proper packing ensures good density, resulting in a nice diffraction pattern and reduced risk of spilling, especially if the sample is spun at high RPM.
- Data collection:
- You can choose an appropriate scan range based on whether the sample is organic or inorganic. Previous talks have detailed these conditions.
- If unsure, a default scan from 3 to 90° is recommended, using a speed of 10° per minute on high-speed detectors. This yields data in 8.7 minutes (for 87° scanned).
- After an initial scan to identify peak positions, the range, step size, and speed can be refined for more precise analysis.
- Data analysis:
- Use software, such as SmartLab Studio II, for search-match analysis, which identifies phases based on peak position, intensity, and profile shape.
- User background knowledge is essential to accept or reject matches, as the process is not fully automatic unless dealing with a single-phase material.
- Quantification methods like Rietveld (retool) or RIR (Reference Intensity Ratio) can then be employed for quantitative analysis.
- Sample preparation:
-
In-situ measurements involve collecting data while a sample undergoes a change, such as temperature, or an applied condition like charging/discharging a battery. These changes can alter the unit cell or crystal structure, thereby affecting the material's properties.
For the MiniFlex, the following options are available:
- Temperature stages (BTS stages):
- BTS150: Offers a temperature range from -10 to 150°C.
- BTS500: Allows measurements from ambient (room) temperature up to 500°C.
- These stages are designed for easy installation using an Allen key and work with high-speed detectors like the D/teX Ultra 2 or the XSPA-200, enabling rapid data collection (e.g., every 2 minutes) to capture fast changes in materials. The stages are generally air-cooled. They can also accommodate inert gas environments (e.g., helium or nitrogen) if you need to keep the sample free of oxygen or humidity.
- Coin cell stages (battery in-situ/operando):
- This attachment enables operando experiments where a potentiometer charges and discharges a battery material in a coin cell.
- The MiniFlex can capture phenomena such as peak shifts (e.g., 103 and 101 peaks in NMC materials), which indicate changes in the unit cell or crystal structure due to the movement of atomic substitutions (e.g., lithium ions moving in and out of interstitial sites) during charging/discharging.
- Similar to other attachments, the coin cell stage is designed for simplicity and ease of use, requiring only an Allen key for installation.
- Temperature stages (BTS stages):
-
Akhilesh wants to invite everyone involved in powder diffraction—existing users, new users, and especially those who doubt if a desktop instrument can perform good powder diffraction. The goal would be to surprise them by demonstrating the MiniFlex's good resolution, intensity, and even superior intensity with their own data.
It would be a party with good food and wine. The main activity would be hands-on exercises with the MiniFlex. Guests would be encouraged to "bring their samples" for data collection and analysis, turning it into a "Can you tell me what it is?" party. This would allow curious individuals to bring anything—from sugar substitutes to backyard minerals—to be identified and analyzed for fun.
-
Handling air- or humidity-sensitive samples properly is crucial for those sensitive samples to prevent changes due to environmental exposure. The key is to use the correct sample holder and preparation method.
- Air-tight sample holders:
- Dedicated air-tight sample holders are available. These holders include an O-ring for sealing and a Kapton window for X-ray transparency.
- Highly sensitive samples should be prepared and assembled inside a glove box. If changes are not extremely fast, samples can be quickly prepared in these holders after opening a sealed bottle without a glove box.
- There are designs for both the standard clip stage and the Auto Sample Changer (ASC-8), the latter being popular for processing multiple samples. Some air-tight sample holders also come with zero-background options for very small amounts of samples.
- Airtightness: The latest versions of these sample holders have been tested with highly air-sensitive materials, such as iron chloride, and can maintain their inert environment for up to two hours. This extended duration, combined with high-speed detectors, provides ample time for experiments.
- Capillaries:
- You can also use glass capillaries to seal samples. After carefully packing the sample in a glass capillary, you can close it by flame-sealing to maintain a closed environment. You can use clay, glue, or wax to close the capillary, but flame-sealing keeps the inert environment the longest.
- Capillaries are harder to deal with when packing samples, especially in a glove box. However, if transmission measurement is preferred for the sample or you need to preserve it for a long time for recording purposes or regulatory requirements, glass capillaries would be a better option than the reflection air-tight sample holder.
- Air-tight sample holders:
-
While simply doubling the speed is an option, it can lead to noisy data and cause you to miss minor phases. A more strategic approach to cut measurement time by 50% involves:
- Narrow the scan range:
- Identify the area of interest where peaks are expected.
- Inorganic materials might require a range like 3 to 75°, possibly clay minerals with lower angle start due to low-angle peaks, while metals might only need 10-15 to 90°.
- Organic materials rarely require a scan beyond 50°.
- By shortening the scan range to only where peaks belong, the measurement time is significantly reduced.
- Widen the step size:
- Traditionally, a very fine step size (e.g., 0.01-0.02°) was often used, typically FWHM divided by 5 or 8.
- However, most materials do not require such fine step sizes, especially when time is a constraint.
- One can use a slightly wider step size, such as 0.02-0.04°, derived as FWHM divided by 4 or 5.
- This helps reduce scan time while still providing reasonably smooth peaks and avoiding excessively noisy data.
Akhilesh recommends shortening the range and widening the step size in addition to increasing speed to cut the scan time in half while maintaining data and analysis quality as much as possible.
- Narrow the scan range:


Subscribe to the Bridge newsletter
Stay up to date with materials analysis news and upcoming conferences, webinars and podcasts, as well as learning new analytical techniques and applications.

Contact Us
Whether you're interested in getting a quote, want a demo, need technical support, or simply have a question, we're here to help.
