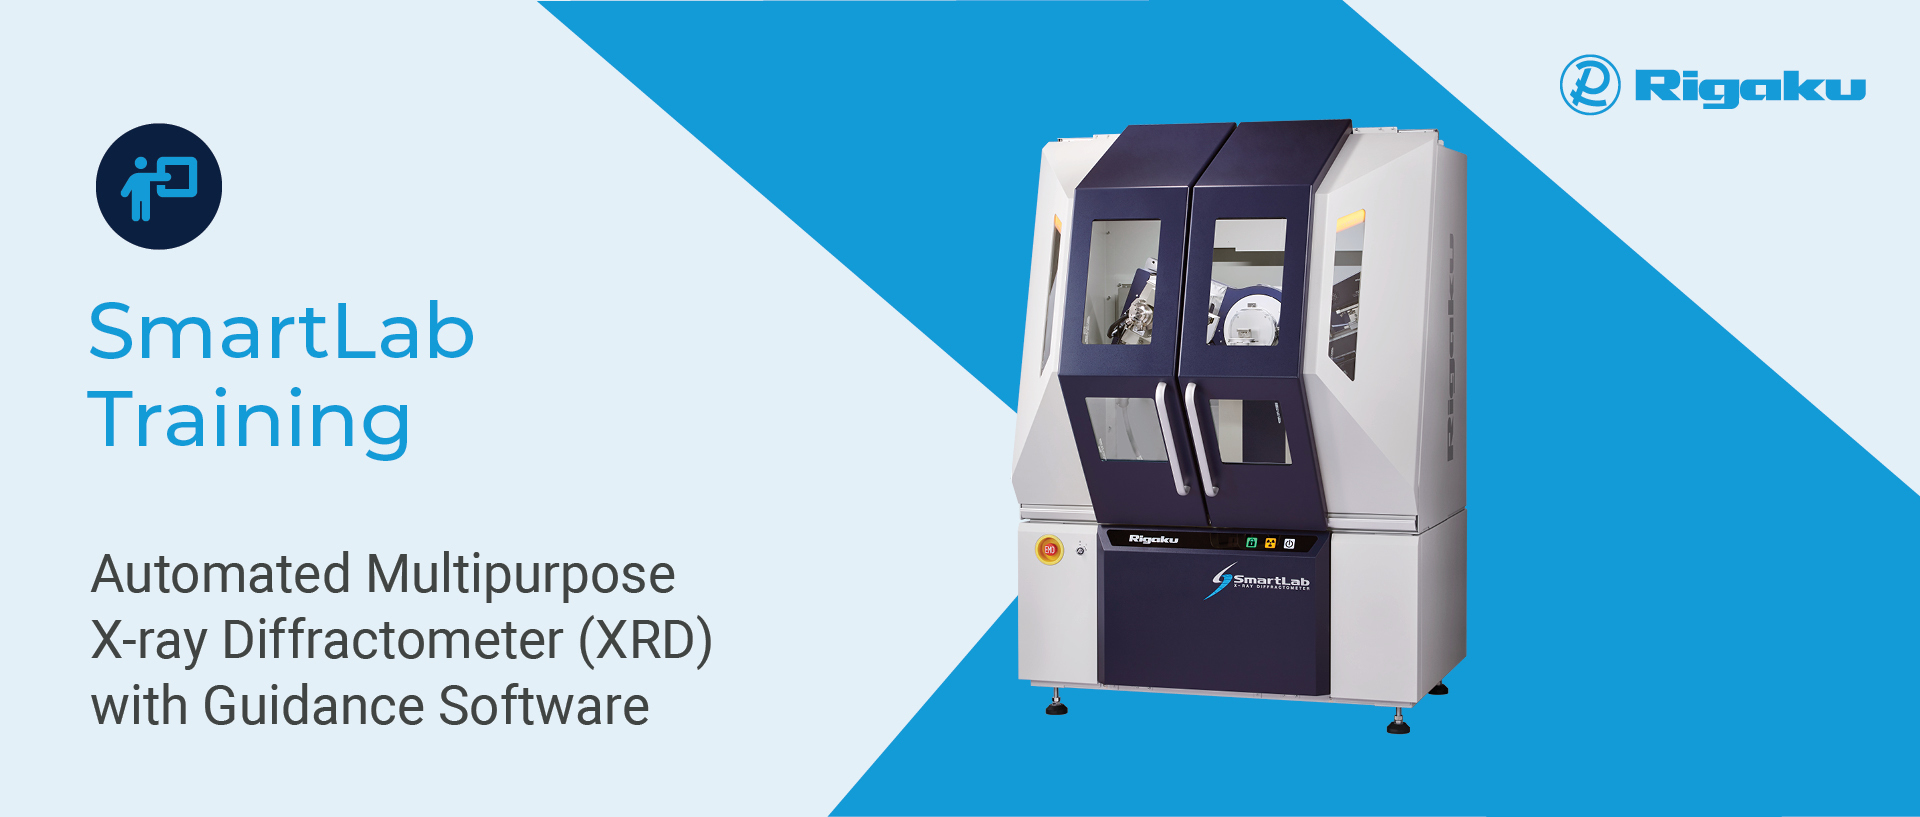
SmartLab training (EMEA)
| Course name: | SmartLab Regular Training Europe |
| Duration: | 4½ days |
| Sessions: | June 29-July 3, 2026 October 19-23, 2026 March 8-12, 2027 June 28-July 2, 2027 October 18-22, 2027 |
| Course times: | 9 a.m. – 5 p.m. |
| Location: | Neu-Isenburg, Germany |
General Scope
This course addresses the basic operations in terms of hardware and software for the SmartLab multi-purpose XRD instrument. The training is based on hands-on solving of example problems in order to illustrate a range of XRD techniques. Starting from basic general purpose powder X-ray diffraction right through to pole figure, residual stress, SAXS and thin-film X-ray diffraction including X-ray reflectivity, grazing incidence diffraction, in-plane diffraction and high-resolution diffraction using SmartLab Studio II, Powder XRD, XRR, HR-XRD and Texture Plugins. Previous experience in X-ray diffraction is required. Persons attending the training should expect to leave the course with a basic working knowledge of both the SmartLab hardware and analysis software. Some of the specific topics covered are outlined below.
Rigaku will provide the training notes and a course certificate.
Persons attending the training are advised to have a personal computer with SmartLab Studio II software installed and software dongle / network license that is required to run the software.
Who should attend?
Operators, engineers, research scientists and university students in university and operators of the SmartLab diffractometer supplied by Rigaku.
Registration is required. The number of places is limited.
Course agenda
| Day 1 | |
| 9:00 - 12:00 | Theory |
| 1. Introduction | |
| 2. XRD basics | |
| 3. Sample preparation | |
| SmartLab (SL) hardware (HW) and software (SW) | |
| 4. Measurements | |
| 14:00 - 17:00 | SW |
| 1. Introduction to SLSII | |
| 2. Data analysis | |
| a) Basic/data processing | |
| b) Conversion/saving | |
| c) Visualization/graphics | |
| d) Database (COD, ICDD) installation | |
| 3. Qualitative | |
| a) RIR | |
| b) Internal/external standards | |
| 4. Introduction to the Rietveld Method, WPPF | |
| 5. WPPF - exercises | |
| Day 2 | |
| 9:00 – 12:00 | SW |
| 1. Quantitative phase analysis | |
| 2. Quantification of amorphous phases | |
| 3. Comprehensive analysis | |
| a) Crystallite size determination | |
| 4. Crystallite size distribution | |
| 14:00 – 17:00 | SW |
| 1. Crystal structure solution from powder X-ray data | |
| a) Indexing, space group determination | |
| b) Crystal structure model determination | |
| SL HW & SW | |
| 2. Transmission measurements | |
| 3. PDF | |
| Day 3 | |
| 9:00 - 12:00 | Theory |
| 1. Gracing Incidence Diffraction (GID) | |
| 2. In-plane diffraction | |
| 3. Pole Figure | |
| SL HW and SW | |
| 4. GID measurement | |
| 5. In-plane measurement | |
| 14:00 - 17:00 | SL HW and SW |
| 1. PF measurements (0D,2D) measurement & analysis | |
| Theory, HW & SF | |
| 2. Residual Stress | |
| 3. Residual Stress measurement (0D,2D) & analysis | |
| Day 4 | |
| 9:00 - 12:00 | Theory, HW & SW |
| 1.0D SAXS/WAXS | |
| 2. USAXS | |
| 3. 2D SAXS/WAXS | |
| 14:00 - 17:00 | SL HW & SW |
| 1. Microdiffraction (incident optics, camera) | |
| 2. XRR theory, measurement and analysis | |
| 3. RC measurement and analysis | |
| Day 5 | |
| 9:00 – 12:30 | Theory, HW & SF |
| 1. RSM measurement and analysis (fast RSM, wide Range RSM) | |
| 2. Q & A Session | |
| 3. Summary of the training | |
Note: During training course, the latest version of software for instrument control and analysis software that is available on the market is used. Therefore, details of the operation might be different from your environment. Our trainers are more than happy to discuss the operations on your version of the software.
