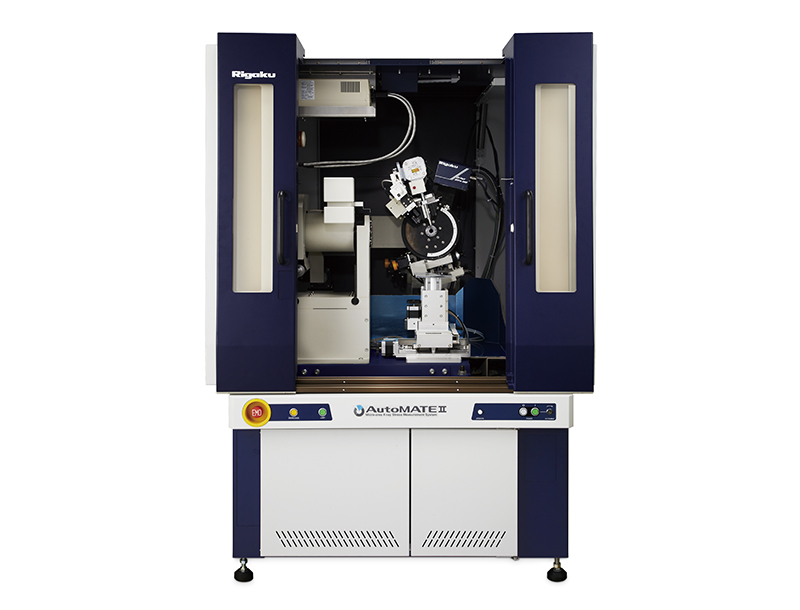
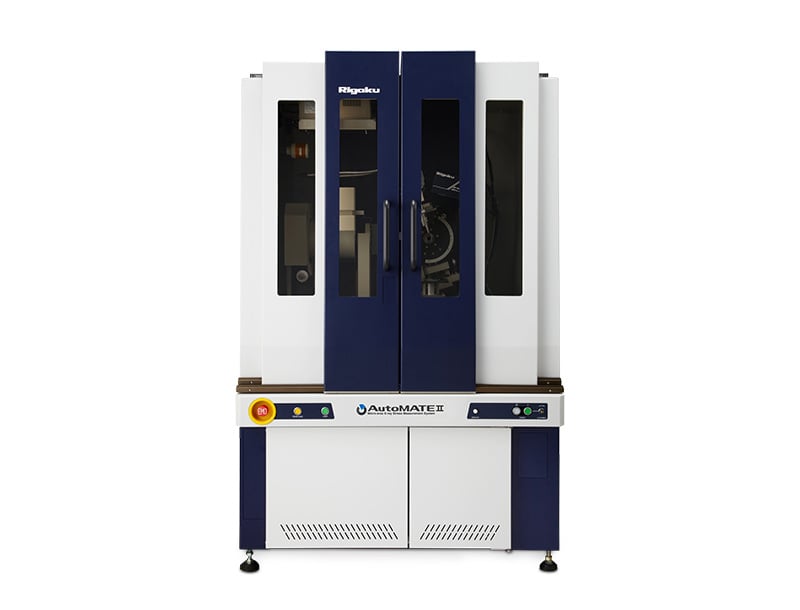
AutoMATE II
Micro-Area X-ray Residual Stress Measurement System
Highly accurate micro-area residual stress with both iso- and side-inclination methods
Residual stress may be created during the manufacturing process of a material, or it may accumulate in a structure over many years in operation. In either case, this stress can have a serious negative effect on a product's quality, durability and lifetime. Accurate detection of residual stress is an important element of the quality control process and helps predict the service lifetime of products.


AutoMATE II Overview
Residual stress may be created during the manufacturing process of a material, or it may accumulate in a structure over many years in operation. In either case, this stress can have a serious negative effect on a product's quality, durability and lifetime. Accurate detection of residual stress is an important element of the quality control process and helps predict the service lifetime of products.
X-ray diffraction (XRD) for stress analysis of large/heavy samples
In the past, if you wanted to make highly accurate residual stress measurements, you had to use an R&D diffractometer because of the accuracy of the goniometer. However, this restricts the weight and size of the samples you can measure. On the other hand, dedicated laboratory and factory-floor residual stress analyzers suffer from reduced accuracy due to the nature of their mechanical designs, while, in their favor, they have the flexibility of measuring large and heavy parts.
World's most advanced residual stress measurement system
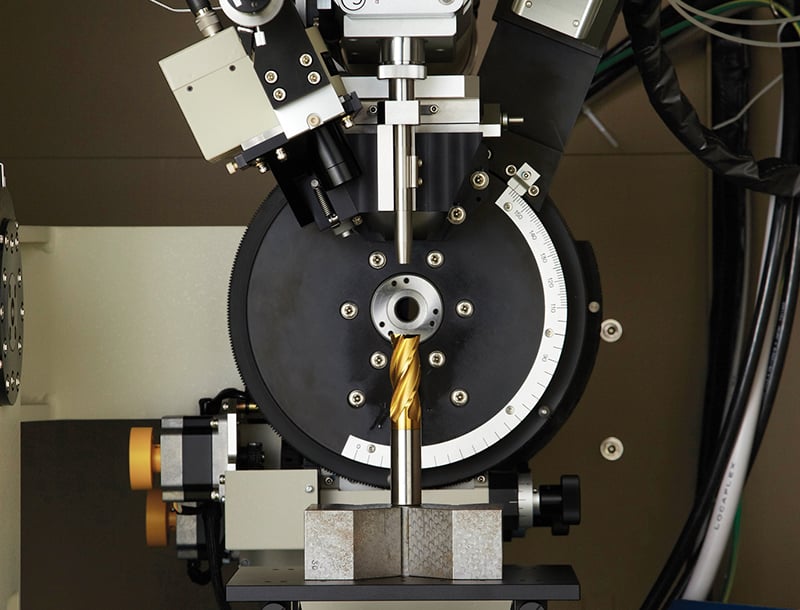
Large and heavy samples are measured by AutoMATE II with high accuracy by utilizing a 2-axis goniometer with a stationary sample stage. The working volume for a sample is 720 mm (W) × 560 mm (D) × 540 mm (H) and the maximum sample weight is 30 kg. An optional sample stage can hold 20 kg and is equipped with an automatic XYZ stage with X, Y translations of -50 ≤ X, Y ≤ 50 mm and a Z translation of -5 ≤ Z ≤ 35 mm. The working volume for a sample with the automated XYZ stage is 720 mm (W) × 560 mm (D) × 335 mm (H). Some testing devices, including a 4-point bending device, can be attached to the sample stage. The X-ray source and detector arm are mounted on a highly accurate two-axis goniometer that can position them relative to the measurement site and perform scans with minimum steps of 0.1 microns when using the automated XYZ stage.
Advanced D/teX Ultra 1000 silicon strip detector technology
The most advanced new feature of the AutoMATE II lies in an innovative new X-ray detector. The detector used in the AutoMATE II is the D/teX Ultra1000, an electronic Si strip detector that has high dynamic range, high sensitivity, and good energy resolution, as well as not requiring any consumable gas.
AutoMATE II Features
AutoMATE II Videos
AutoMATE II Specifications
| Technique | X-ray diffraction (XRD) | |
|---|---|---|
| Benefit | Residual stress measurement on large and/or heavy objects by XRD | |
| Technology | Specialty 2-axis X-ray diffractometer with mapping capability | |
| Attributes | 3 kW sealed X-ray tube D/teX Ultra 1000 silicon strip detector |
|
| Options | Automated XYZ stage CCD microscope with zoom function |
|
| Computer | External PC, MS Windows OS, AutoMATE II for Windows | |
| Dimensions | 1200 (W) x 1910 (H) x 1320 (D) mm | |
| Mass | Approx. 1060 kg (core unit) | |
| Power requirements | 3Ø, 200 VAC 50/60 Hz, 20 A, 69 kW | |
AutoMATE II Application Notes
The following application notes are relevant to this product
-
B-XRD3001 - Stress Distribution of a Shot Peened Coil Spring
AutoMATE II Resources
Rigaku Journal articles
Visit the Rigaku Journal resource page to access articles relevant to AutoMate II
AutoMATE II

Contact Us
Whether you're interested in getting a quote, want a demo, need technical support, or simply have a question, we're here to help.
